3D Proximity Scanner
The story
In 2011, we had a problem to solve at work. There was a new kind of proximity sensor and our customer wanted to learn if it was possible to detect some simple hand gestures using nothing but the sensor.
To understand the sensor’s capabilities, we did manual measurements by moving a fingertip in front of the sensor while logging the readings. This was laborious manual work. Furthermore, it was still difficult to understand the limits of the sensor, as we could change the current for the sensor’s IR LEDs and that of course changed the readings.
We needed a way to see ourselves what the sensor sees, so I decided to create a 3D visualization of the sensor’s readings in terms of distance from the sensor along the X, Y, and Z-axis. This visualization had to be created multiple times, as we could use different current values for the IR LEDs.
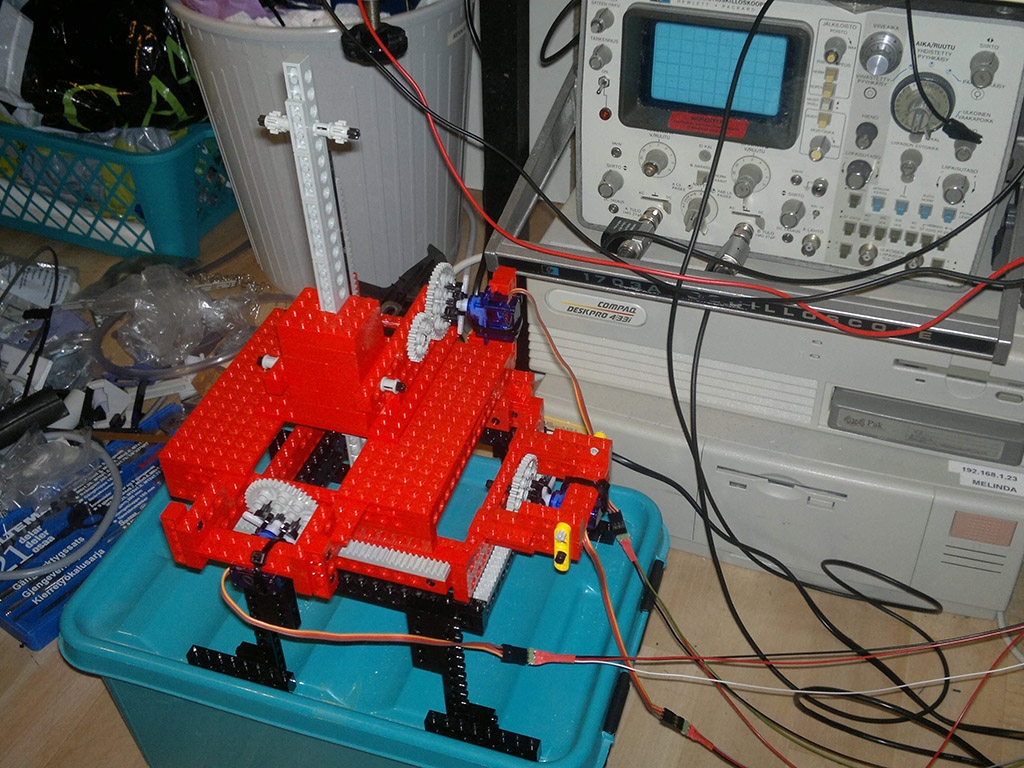
To repeat such measurements reliably and easily enough, we needed a quick robotized solution. Lego Technic to the rescue! At home, I brought my old Lego Technic bricks from the storage and built a movable fingertip: we could move it along the X and Y axis about 10 cm and also raise or lower the fingertip along the Z-axis about the same amount. As a result, we could cover a 10x10x10 cm3 (one liter) volume in front of the sensor.
To control the position precisely, I used small servo motors and wired them to an Arduino. Next, I wrote a motor control API for the Arduino, and connected it to a PC via a USB serial cable. Then, I wrote a Python script that moved the artificial fingertip along a pre-defined route and logged the proximity sensor’s readings at the same time.
Using the collected data, it was easy to create a 3D illustration of the sensor’s capabilities. After changing the current output for the IR LEDs, the measurement could be repeated and another 3D illustration was outputted.
With the visualizations, we could understand what is and is not possible with this sensor on different IR LED currents. Problem solved.
Photos
Here I am testing the robot at home with my own IR sensor solution.

Here we are making measurements using the customer’s prototype board (blurred). Arduino is in the black box in the background. The setup worked well.

Postscript
While Lego Technic sets are sold as toys for kids, they are also light, interlocking parts that can be used for quickly prototyping mechanical structures. When motors and control software is added, it is possible to perform useful things even though the setup looks like a toy. Using wooden or metallic parts would have looked more professional, but also be much slower to build.